
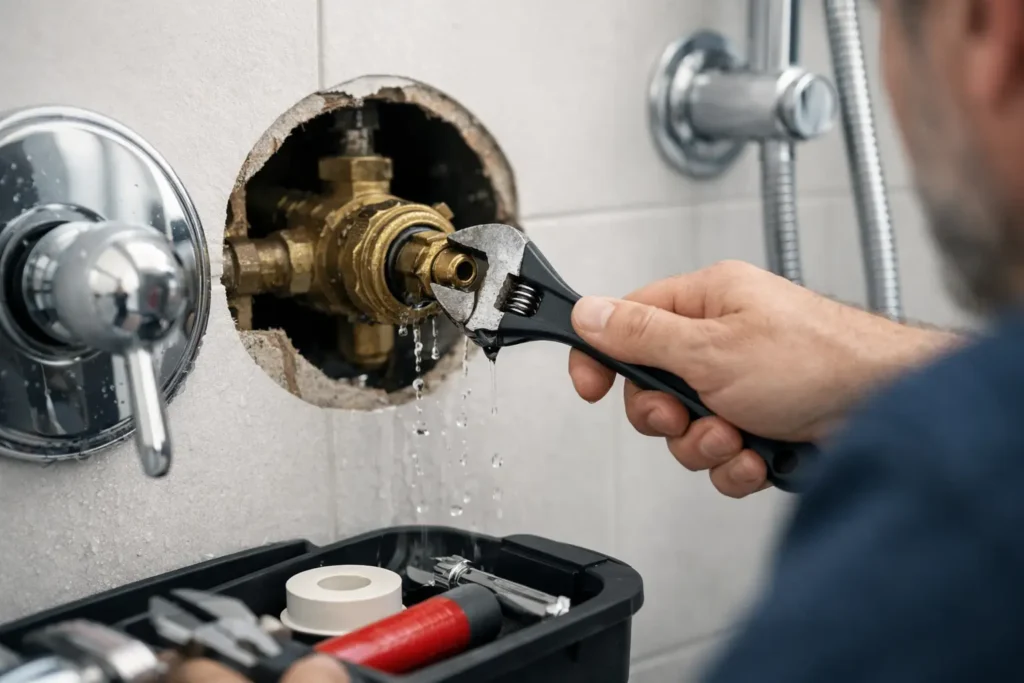
That slow drip from the showerhead is not always a showerhead problem. In many cases, it is a worn or damaged valve behind the handle. Proper leaking shower valve repair stops water waste, protects the wall cavity, and helps you regain dependable control over water temperature.
A shower that drips after the handle is turned off can waste a surprising amount of water over time. More concerning, a leak around the handle or inside the wall can quietly damage drywall, framing, flooring, and nearby rooms. The right response depends on where the water is escaping and what type of shower valve you have.
What a Leaking Shower Valve Usually Means
The shower valve is the hidden control assembly that mixes hot and cold water and sends it to the showerhead, tub spout, or both. When you turn the handle off, internal parts are supposed to create a watertight seal. If that seal fails, water continues moving through the fixture.
For most modern showers, the common culprit is a cartridge. This cylindrical part wears down from regular use, mineral buildup, and debris in the water line. Older two-handle showers may use stems, rubber washers, seats, or packing nuts instead. The repair is not one-size-fits-all, which is why identifying the valve type before taking it apart matters.
A drip from the showerhead generally points to an internal shutoff problem. Water appearing behind the trim plate, around the handle, or on the wall below may point to a failed cartridge seal, loose connection, cracked valve body, or pipe leak. Those situations deserve faster attention because the damage may be hidden.
Signs You Need Leaking Shower Valve Repair
A steady drip is the obvious sign, but shower valve trouble often shows up in other ways first. You may notice the handle is stiff, loose, difficult to turn, or no longer stops at the correct temperature. Temperature swings during a shower can also signal a worn pressure-balancing or thermostatic cartridge.
Watch for moisture around the handle escutcheon plate, discoloration on the wall or ceiling near the bathroom, peeling paint, a musty smell, or soft drywall. If the valve leaks only while the shower is running, but not when it is off, the issue could be at the shower arm, showerhead connection, tub spout, or trim components instead.
A simple check can narrow it down. Dry the shower completely, then avoid using it for several hours. If water reappears at the showerhead, the valve is likely allowing water through when it should be closed. If the area around the handle becomes damp during use, remove the decorative cover only if you can do so safely and look for visible water around the valve opening. Do not force corroded parts or open a wall just to investigate a small leak.
Why a Shower Valve Starts Leaking
Normal wear is the leading cause. Each time the handle turns, internal rubber seals and moving components experience friction. Hard water can speed up the process by leaving mineral deposits that keep a cartridge from sealing correctly.
Age also matters. A shower valve can serve a home well for years, but internal parts eventually reach the end of their service life. In older bathrooms, replacement parts may be difficult to identify or no longer available. A previous repair can create trouble too if the wrong cartridge was installed, a seal was pinched, or debris was left in the valve body.
Less commonly, the valve itself may be cracked or corroded. This is a larger repair because the valve is connected to pipes behind the finished wall. In that case, replacing only the cartridge will not stop the leak. A licensed plumber can determine whether a component-level repair is enough or whether the full valve needs replacement.
Can You Repair a Shower Valve Yourself?
Replacing a cartridge can be a reasonable DIY project when the valve is accessible, the brand and model are known, and the shutoff can be turned off reliably. It is not a good job to rush. Many cartridges look similar but have different lengths, spline counts, orientation marks, and temperature-limit settings. Installing the wrong one can cause continued leaking, reversed hot and cold water, or poor temperature control.
Before beginning, shut off water to the shower using built-in service stops if your valve has them. Otherwise, turn off the home’s main water supply. Open the shower handle afterward to relieve pressure and confirm the water is off. Cover the drain so screws and clips do not disappear into it.
The basic process involves removing the handle and trim, retaining clip or nut, pulling the old cartridge, cleaning the valve opening, and installing the exact replacement in the correct position. The difficult part is often removing a cartridge that is stuck from corrosion or mineral buildup. Pulling too hard, prying against the valve body, or twisting the wrong component can create a much more expensive problem.
DIY repair makes the most sense when the leak is limited to a known cartridge issue and you are comfortable stopping if something does not move as expected. If the handle hardware is badly corroded, the cartridge will not release, water is coming from inside the wall, or you cannot positively identify the part, professional service is the safer choice.
When to Call a Plumber Right Away
Some shower leaks can wait for a scheduled repair. Others should be treated as urgent, especially if water may be entering the wall or affecting another room. Call for help promptly if you see water stains on a ceiling below the bathroom, hear water running inside the wall with the shower off, find mold-like growth or a strong mildew odor, or cannot fully shut off the water.
You should also call a plumber if the shower suddenly becomes dangerously hot or cold. Anti-scald shower valves are designed to help maintain a safer temperature when water pressure changes elsewhere in the property. A failed cartridge can interfere with that protection. This is particularly important in homes with children, older adults, or tenants.
For landlords and property managers, a dripping shower is more than a maintenance annoyance. It can lead to tenant complaints, higher utility bills, wall damage, and avoidable turnover repairs. Documenting the condition early and addressing it before moisture spreads is usually the most cost-effective route.
What a Professional Shower Valve Repair Includes
A professional repair starts with diagnosis, not a guess. The plumber identifies whether the source is the cartridge, stem, valve body, pipe connection, shower arm, or another fixture component. They also check whether the valve shuts off properly and whether there is evidence of concealed moisture damage.
If a cartridge or internal seal is the problem, the plumber will use the correct replacement part and test the shower under pressure. They should verify that the handle turns smoothly, the hot and cold sides operate correctly, the temperature limit is set appropriately, and the showerhead stops dripping after shutoff.
If the valve body needs replacement, access may be required through the back side of the wall or through a controlled opening in the shower wall. The best access point depends on the bathroom layout and the wall finish. A good repair plan protects surrounding surfaces where possible and explains the work before it begins.
Royal King Plumbing provides clear explanations, honest pricing, and repair options based on the actual condition of the valve. That matters because a low-cost cartridge replacement is worthwhile when it solves the issue, but it is not a lasting fix for a cracked or failing valve body.
Preventing the Next Shower Valve Leak
No valve lasts forever, but a few habits can reduce unnecessary wear. Avoid forcing a stiff handle. If it becomes hard to turn, have it checked before the cartridge or handle assembly breaks. Keep the showerhead clean to reduce mineral buildup, and address recurring pressure or temperature changes instead of treating them as normal.
After any shower repair, check the area around the trim plate and the ceiling below the bathroom over the next few days. A dry wall and a shower that shuts off cleanly are good signs the repair held. If you notice even a small return of moisture, acting quickly can keep a simple valve repair from turning into wall restoration.
A shower should turn off completely, feel safe to use, and leave no question about what is happening behind the wall. When it does not, getting the valve diagnosed early protects both the bathroom and the property around it.


