A Guide to Leak Detection Methods That Work
A water bill that jumps without explanation, a warm patch on the floor, or the faint sound of water moving behind a wall can point to the same problem: a hidden leak. This guide to leak detection methods explains how plumbers find water loss without tearing apart more of your property than necessary – and why early testing can prevent a small repair from becoming major water damage.
Leaks do not always create a visible puddle. Water can travel along framing, under flooring, or through soil before it shows itself. For homeowners, landlords, and business owners, the goal is not just finding moisture. It is locating the source accurately, confirming the repair needed, and documenting the work clearly.
Start With the Signs of a Hidden Leak
Some leaks announce themselves with dripping water under a sink. Others stay out of sight while steadily raising your bill and damaging materials around them. A plumbing professional begins by listening to what has changed at the property and narrowing down the likely source.
Common warning signs include a water meter that moves when every fixture is off, a sudden increase in water use, mildew odors, discolored drywall, peeling paint, soft flooring, and low water pressure. Outside, damp spots in the yard or water pooling near a foundation can signal a damaged underground water line.
In a commercial property, watch for unexplained restroom moisture, recurring ceiling stains, or utility bills that no longer match normal occupancy. A slow leak can continue after business hours, which makes regular meter checks especially useful.
Basic Leak Checks You Can Do Safely
A few simple checks can help determine whether it is time to call for professional leak detection. First, turn off faucets, ice makers, irrigation systems, appliances using water, and toilets that may be refilling. Then look at the water meter. If the small leak indicator continues moving, water may be escaping somewhere in the system.
To check for a toilet leak, add a few drops of food coloring to the tank and wait about 15 minutes without flushing. Color appearing in the bowl can mean the flapper is not sealing correctly. This is one of the more common and less costly leaks to fix.
Do not open walls, chip concrete, or dig around suspected piping based on a guess. Those steps can create unnecessary repair costs and may damage electrical lines, structural finishes, or the pipe itself. A licensed plumber can use noninvasive testing to narrow the location first.
Professional Leak Detection Methods
The right detection method depends on the pipe material, leak location, building layout, and symptoms present. A good diagnosis often combines more than one test. One tool may identify moisture, while another pinpoints the pipe section responsible.
Water meter and pressure testing
Meter testing confirms whether water is moving through the plumbing when it should not be. Pressure testing adds another layer of information. A plumber isolates sections of the water system, applies controlled pressure when appropriate, and watches for a pressure drop.
This method is useful for confirming a supply-line leak, but it does not always reveal the exact physical location by itself. That is why it is commonly paired with acoustic equipment or thermal imaging.
Acoustic leak detection
Pressurized water escaping through a pipe often creates a distinct sound. Electronic listening equipment can amplify that sound through concrete slabs, walls, floors, and soil. An experienced technician compares sound patterns at different points to identify where the leak is strongest.
Acoustic detection is particularly valuable for slab leaks and buried water lines because it can reduce the need for broad demolition. Results can be affected by heavy traffic, mechanical equipment, thick concrete, or multiple pipes in the same area. The technician’s training and interpretation matter as much as the equipment.
Thermal imaging
Infrared cameras detect temperature differences across surfaces. A hot-water leak may create a warmer area beneath a floor or behind a wall, while a cold-water leak can produce a cooler pattern. Thermal imaging can help locate the affected zone without opening the surface first.
A thermal camera does not see water through walls. It reads surface temperature changes. That means sunlight, air conditioning, insulation gaps, and recently used hot water can affect the image. It is a powerful diagnostic tool when used alongside moisture readings and plumbing tests, not a shortcut to a final answer.
Moisture meters and inspection tools
Moisture meters measure the level of moisture in drywall, flooring, trim, and other building materials. They help confirm how far water has traveled and can distinguish an active plumbing issue from an old stain that is already dry.
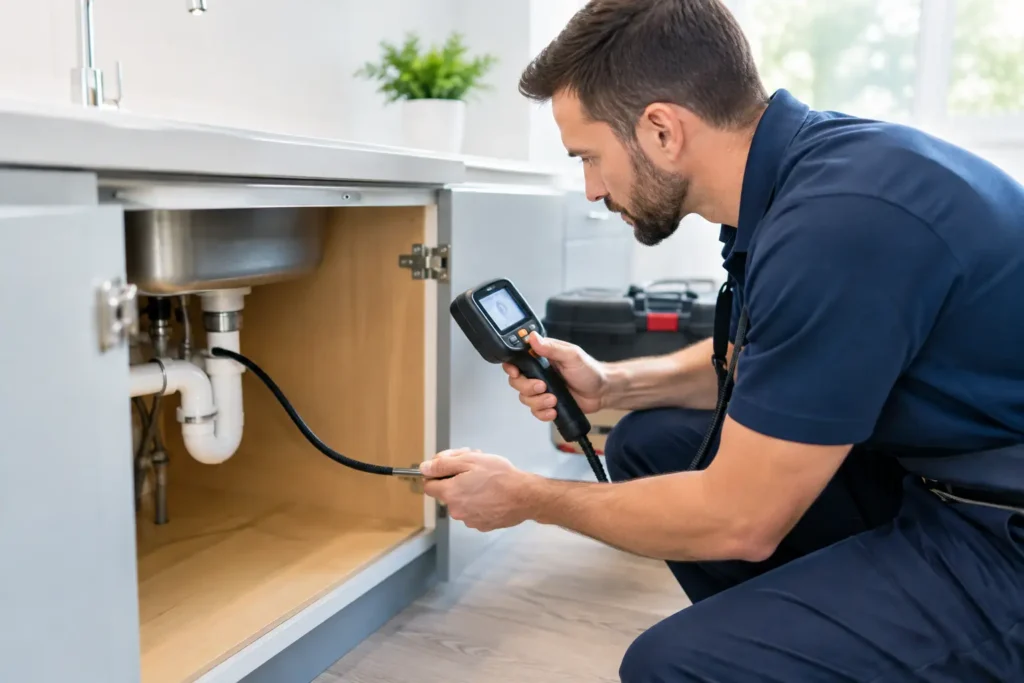
For drain lines, a sewer camera may be the better choice. A small camera sent through a drain can reveal cracked pipe, root intrusion, separated joints, standing water, or failed connections. Camera inspections are especially helpful when recurring clogs, odors, or water backing up point to a drain or sewer problem rather than a pressurized water-line leak.
Tracer gas testing
When other methods cannot isolate a difficult leak, plumbers may use tracer gas testing. After a pipe section is safely isolated and prepared, a non-toxic gas mixture is introduced into the line. Specialized sensors can detect gas escaping through flooring, soil, or wall materials.
This method can be effective for small leaks hidden under slabs or within complex piping routes. It requires proper setup and professional handling, so it is not a do-it-yourself test. It may also add time and cost compared with simpler testing methods, but can prevent larger exploratory repairs when the leak is hard to locate.
How Leak Location Changes the Repair Plan
Finding the leak is only the first decision. The best repair depends on pipe condition, accessibility, age of the system, and whether there are signs of broader deterioration.
A leak at an exposed fitting under a sink may need a straightforward repair or replacement. A single failure in an accessible wall can often be repaired through a small, controlled opening. A leak beneath a concrete slab may call for direct access to the pipe, rerouting a section of line, or replacing a larger run if the piping has repeated failures.
The least disruptive repair is not always the least expensive upfront, and the cheapest repair is not always the one that lasts. If an older pipe system has developed multiple leaks, repairing one weak spot at a time can become more costly than addressing the failing section properly. A clear explanation of options, pricing, and expected lifespan helps you make the right call for the property.
What to Do While You Wait for Service
If water is actively flowing, shut off the nearest fixture valve if you can identify it safely. For a larger leak, turn off the main water supply to limit damage. Move furniture, electronics, stored items, and rugs away from wet areas. Take photos of visible damage for your records, especially in rental or commercial properties.
Avoid using fixtures that may be connected to the suspected problem. If you notice sewage backup, water near electrical outlets, a ceiling that is bulging, or water spreading quickly, treat it as an emergency. Keep people away from the affected area and request immediate plumbing service.
For customers who need a fast, straightforward diagnosis, Royal King Plumbing focuses on locating the source, explaining what the testing shows, and recommending a repair built to hold up. Ask for the findings in plain language and keep any service documentation with your property records. A small leak found early is often the repair that saves the most time, disruption, and money later.
Leave a Reply