
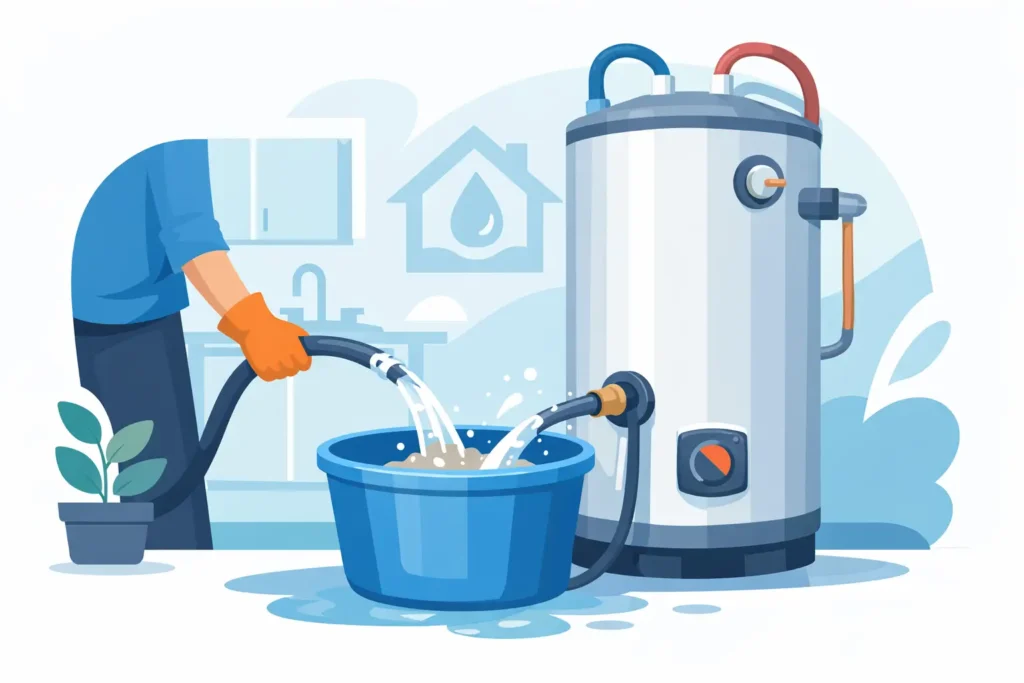
A rumbling water heater, cloudy hot water, or a shower that runs cold sooner than it used to can point to sediment collecting at the bottom of the tank. Knowing how to flush water heater sediment can help protect your equipment, improve performance, and catch problems before they turn into a no-hot-water emergency.
For Tampa Bay homes and businesses, regular flushing is especially worthwhile. Minerals and debris in the water settle inside a tank over time. That buildup creates a barrier between the burner or heating elements and the water, making the unit work harder than it should.
Why Flushing a Water Heater Matters
A tank-style water heater stores hot water around the clock. As minerals fall out of the water and settle, they form a layer of sediment on the tank floor. In a gas water heater, that layer can make the burner less efficient and cause popping or crackling sounds as water gets trapped beneath it. In an electric model, sediment can cover heating elements and reduce their effectiveness.
Left alone, buildup may lead to slower recovery times, higher utility costs, reduced hot-water capacity, and premature tank failure. It can also clog the drain valve, which turns a simple maintenance job into a service call.
Flushing is not a cure for an already leaking, badly corroded, or failing water heater. If the tank itself is leaking, replacement is generally the right answer. Water around the base, rusty water from hot fixtures, a failing temperature and pressure relief valve, or a strong gas odor all deserve prompt professional attention.
How Often Should You Flush a Water Heater?
For most homes, flushing a traditional tank water heater once a year is a practical schedule. A household with hard water, heavy hot-water use, or an older tank may benefit from more frequent service. Property managers may also want annual maintenance on each unit to avoid surprise outages for tenants.
There is one exception: a neglected older heater can be unpredictable. If it has never been flushed and is near the end of its expected service life, disturbing heavy sediment can expose an existing weak point or cause the drain valve to clog. That does not mean maintenance caused the failure. It means the tank may already have been in poor condition. When in doubt, have a licensed plumber inspect it before flushing.
What You Need Before You Start
The process is straightforward, but the water inside the tank can cause serious burns. Plan for enough time to let the heater cool, and keep children and pets away from the work area.
You will need a standard garden hose that reaches a safe drainage location, a flathead screwdriver if your drain valve requires one, and a bucket if you need to check the water as it drains. Use a hose you do not rely on for drinking-water use. Wear closed-toe shoes and gloves when working around the tank.
Choose a drainage point that can safely handle hot water and sediment, such as an exterior area away from the foundation. Do not send hot water across a lawn, into a place where it can damage surfaces, or toward a storm drain. If the heater is in an attic, closet, or other location without a safe drain path, it is often better to schedule professional service than risk water damage.
How to Flush a Water Heater Step by Step
1. Turn Off the Heat Source
For an electric water heater, turn off the correct breaker at the electrical panel. This step is essential. Electric elements can burn out if they heat without being fully covered by water.
For a gas water heater, turn the gas control to the pilot setting or follow the manufacturer’s shutdown instructions. If you smell gas at any point, do not continue. Leave the area and arrange immediate professional help.
2. Let the Tank Cool and Shut Off Cold Water
Turn off the cold-water supply valve located above the heater. Then open a hot-water faucet in a nearby sink or bathtub. This relieves pressure and lets air enter the system while the tank drains.
If the heater has been running recently, give it several hours to cool before draining. Some homeowners flush with warm water to speed the job, but that increases the risk of burns. A slower, safer approach is usually the better one.
3. Connect the Hose to the Drain Valve
Attach the garden hose securely to the drain valve near the bottom of the tank. Run the other end to the safe drainage location you selected. Make sure the hose does not kink and that it stays in place before opening the valve.
Open the drain valve slowly. Water should begin flowing through the hose. If it does not, confirm the nearby hot-water faucet is open. A clogged valve or compacted sediment may also be blocking the flow.
Do not force a stuck drain valve. Older plastic valves can crack, and a damaged valve can create a leak that will not stop until the water supply is shut off. This is a good point to call a plumber if the valve will not open or begins dripping around its base.
4. Drain Until the Water Runs Clear
Let the tank drain into the hose. At first, the water may look cloudy, sandy, or discolored. Check the discharge carefully using a bucket if needed. Once the flow looks clear and free of visible grit, most loose sediment has been removed.
For a more thorough flush, briefly turn the cold-water supply back on while the drain valve remains open. The incoming water stirs up remaining debris and pushes it out through the hose. Repeat this short rinse until the water is clear again.
A slow trickle can signal a sediment blockage. Avoid using wire, sharp objects, or excessive pressure to clear the valve. Those shortcuts can damage the tank or valve and create a larger repair issue.
5. Refill the Tank Completely
Close the drain valve securely and disconnect the hose. Turn the cold-water supply back on. Keep the nearby hot-water faucet open while the tank refills. It will sputter as air leaves the plumbing lines. When the faucet has a steady stream of water, the tank is full.
Check the drain valve and surrounding floor for leaks. If the valve drips after being closed, do not ignore it. A small leak can become a major water-damage problem, particularly in a garage closet, utility room, or attic installation.
6. Restore Power or Gas
Only turn an electric water heater back on after the tank is completely full. Restore the breaker once the hot-water faucet runs steadily.
For a gas heater, return the control to its normal operating setting according to the unit’s label and instructions. Confirm that the burner relights properly. If it does not, or if you are uncomfortable relighting it, schedule service instead of repeatedly attempting to start it.
When Flushing Is Not a DIY Job
A water heater should be dependable, not a source of uncertainty. Stop and call for help if you find water leaking from the tank body, severe rust, no water draining, a damaged valve, electrical concerns, pilot-light problems, or signs that the relief valve is releasing water.
Tankless water heaters need a different maintenance process. Rather than draining a storage tank, they are typically descaled using service valves and a cleaning solution designed for the unit. The procedure depends on the manufacturer and model, so tankless service is often best handled by an experienced plumber.
If your water heater is more than 8 to 12 years old, frequent repairs, declining hot-water supply, or rusty water may indicate that flushing alone will not provide a lasting fix. A clear inspection and honest recommendation can prevent spending money on a unit that is already nearing failure.
Keep Small Problems From Becoming Emergency Calls
After flushing, listen for changes in operation and pay attention to how quickly hot water returns. A quieter tank and steadier hot-water supply are good signs, but maintenance should also include checking for moisture around the unit and testing the temperature setting. Most households do well with a setting around 120 degrees Fahrenheit, which balances comfort, energy use, and scald prevention.
For homeowners, landlords, and businesses across Tampa Bay, Royal King Plumbing can inspect, flush, repair, or replace water heaters with clear explanations and straightforward pricing. Taking care of sediment now is a practical way to protect your hot water, your property, and your peace of mind.


